Showing posts with label kitchen. Show all posts

Monday, January 17, 2011

Coffee Hand Scrub

I enjoy cooking - what I don't enjoy are the smells that can end up on your hands when you cook, especially when you cook with things like garlic and onions.


Recently I heard that you can use coffee grounds to remove the smell from your hands - we don't drink coffee here so I bought a container of coffee and tried it. Sure enough it worked.

I figured I could get more, so I researched making my own scrub and thought you might like to make it too. It works great!


Materials:


  • Ground coffee - I'd imagine you could use your left over grounds...
  • Liquid hand soap
  • Olive oil
  • Jars
  • Mixing bowl & something to stir with
Step 1 - Measure out enough coffee to fill your jar about 80% full... And poor it in your bowl. 


Step 2 - Add the hand soap and olive oil. I was making enough scrub to fill 3 jars, so I used about a cup of soap and 1/4 cup of olive oil. You can adjust it however you like, you might want more soap for cleaning or more olive oil for moisturizing.


Then stir:


You might find that you need to add more liquid, just keep stirring it 'till the coffee is all completely coated in the liquids. 


Step 3 - Then simply fill your jars.


Then when you've that garlic smell on your hands, simply open the jar, scoop some out and watch your hands as you normally would.


There you go! No more stinky hands - and I've got to say, the scrub feels great to wash your hands with. 

Thursday, July 29, 2010

Junk Drawer No More!!!

One of the things I was looking forward to when we added the base cabinets to our kitchen we increase the number of drawers we had available. Pre-Renovation we had 3 top drawers in the kitchen. THREE!!! That meant 1 for silverware, 1 for cooking utensils and 1 for junk.

The new base cabinets added 4 drawers!!! So on the cooking side of the kitchen I reclaimed the junk drawer, so that I now have 2 for cooking utensils and I love it.

On the eat in side we have a drawer for our address book and note cards, a drawer with activity books for the kids, a drawer for notebooks and a junk drawer.

Since getting the new junk drawer I've been looking for the "perfect" organizer to make it a little less junkie.

See what I mean:

Yikes - that is embarassing.

But when I was cleaning up the kids play room I found the perfect solution:


Anyone recognize the Melissa and Doug crates?

They are the perfect little container to help contain the contents of the drawer formerly known as the junk drawer.


I've got a crate for batteries, adhesives (tape, glue...) and one for everything else. Plus one of the kids shoe boxes to contain the bigger stuff.

I'm so happy to have this organized!!!

And it was quite an interesting experience to clean out this drawer... why on earth were we keeping some of this stuff???


Some of my friends might recognize that - a key from my jetta. Yeah, that would be the car that Jim totaled 2 and a half years ago.


Anyone have a clue what his key is for because their of us do.


Who doesn't need an empty book of match books???

And for those environmental friendly people who gasped at our collection of batteries, never fear - we are more eco friendly than it looked:


We do have rechargeable batteries that we use for our camera's, kids hand held games, our remotes and a variety of other things.

Tuesday, July 6, 2010

Kitchen Renovation - Update

We're not complete on section 5, the wainscoting and molding, but we made unexpected progress on the back splash.

We hadn't really planned on addressing the back splash 'till a little way down the road. It was the one part of the kitchen that I didn't really have a specific vision for.

Then along came my father-in-law... he visits every summer for a week or 2. In addition to being a very loving grandpa to the 2 best grandchildren in the world, he is also a semi-retired general contractor.

: )

He's built 2 of the houses Jim grew up in, among many other things... and for us, he's worked with Jim to put a deck on our town house and then our single family home.

When he arrived, our back splash looked like this:


I'm pretty sure he started twitching right away... then when I explained I didn't think we'd do anything for a while, I'm pretty sure he was ready to faint right there.

That is when he offered to tile the back splash for us. YAHOOO!!!

The next day Jim and Mr. B hit the Restore and picked up just what they needed, simple, elegant, white tile.

And now our back splash looks like this:


While I was prepared to live with the unfinished ugly one for a few months, I'm beyond thrilled that we don't have to.

Monday, June 14, 2010

Kitchen Renovation - Section 4 COMPLETE!!!

Yesterday was a long day - a very long day - thankfully the kids cooperated and we ended up with 12 hours, which is exactly what we need to finish section 4 of our kitchen, the floor!!!

To give this all some perspective, lets look back to 2 months ago at some of the before pictures:


If you missed sections one, two and three - feel free to go back and check them out.

I don't quite have a step by step on this, but one of the things I did document was the removal of this stupid rail... seriously, what is this for? To keep people from "falling" from the kitchen to the family room where, oh by the way, there is no drop?


With this gone - I'm hoping to put a desk for the kids to do their homework at - once the kids are old enough to have homework anyway...


Just a few (12) hours later here is what our kitchen looks like now:


We are THRILLED - I cannot believe that a day and less than $300 in laminate flooring from Ikea has made this kind of transformation.

Next up, repairing the back splash, painting the back splash and other areas blue, putting back in the molding and touching up a few things!

*sigh*

I love my kitchen.

Wednesday, June 2, 2010

Kitchen Renovation - Section 3 COMPLETE!!!

Here we go again - section 3 of our kitchen renovation - COMPLETE!!!

This section was really difficult, definitely the most difficult thing we've tackled in a long time.

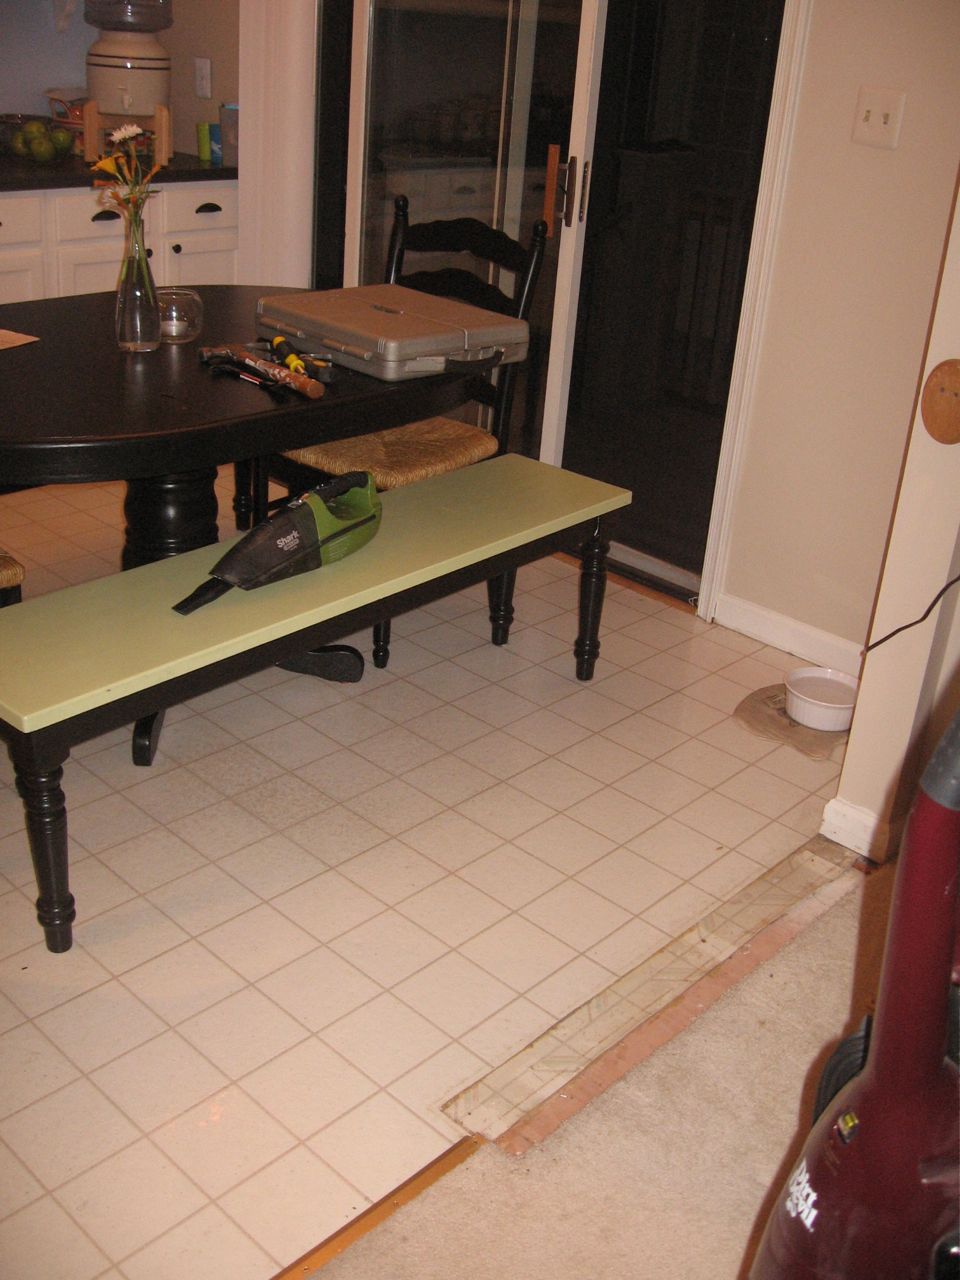
Here is what we did - the before:


Here is the after:


And here is some of what we did along the way, not a step by step or tutorial as I usually like to do, but I think this give a pretty good idea of what we were doing.

Painted the drawers, doors and frames of the cabinets, plus a few accessories. Since this was going to be the last time I pulled out the paint sprayer for a while I wanted to get the full use of it. (Yes, I had to paint the lazy susan from section 2 again, there were some pretty awful drips that had to be sanded and fixed)


We also had to remove the counter tops as well as the breakfast bar. Unfortunately, the breakfast bar revealed some pretty ugly workmanship that we had to go in and take out as well. Lucky for us, Bug got into the action. (I LOVE that our kids get into this too.)


Another challenge, cutting the perfect angle on the counter tops, it wasn't any sort of angle you could really measure and go from... so here is what we did. Made a template out of cardboard and cut the first part.

Then we put down another piece of cardboard, put the cut section on top of that, and then made the 2nd sections template from that:


Turned out to be a perfect solution:
(Please ignore the dust...)

Back to the breakfast bar. I knew there was going to be no way to cut the laminate counter top so that it would look good as a breakfast bar... if you go back to my post on our selection, you'll see we went with the butcher block and I'm so happy we did. It was a dream to cut an it looks amazing.

Here is how we cut it, we measured the depth we wanted, then measured the distance from the guide on our circular side to where the cut should be. Then we took a large 1x4" length of wood and clamped it to the butcher block:

Sorry, this picture is actually post cut - I forgot to take it before, but you get the idea don't you???

So why did we have the 1"x4"? - funny you should ask!

Because we were coupling them with these corbels:


To create our breakfast bar:

I'm in love!

We still have a lot of finish work to do, caulking, touch up painting, adding trim, painting above the counter tops and figuring out our back splash - but what we set out to do with this section, we completed... all in the span of memorial day weekend.

A few more pictures to enjoy:


Yes, we have a new sink and faucet - I'm not going to talk about those because we did EVERYTHING wrong installing them. The last think you should do is look to us for advice on that part of the kitchen. 

Yikes... and yes, those are my crutches in the background. Long story. Long painful story.

Wednesday, May 26, 2010

Cutting Laminate Counter Tops

First, my apologies for being out of touch. In addition to being all consumed by this kitchen project, we also had the wedding of my husbands little brother and next weekend a party for my mom... more on that next week.

For now I wanted to share how we cut the laminate counter tops for our kitchen renovation. By going with standard Ikea counter tops rather than custom cut ones we were able to save a boat load.  Like $300 vs. $900. We even got one quote for $2100. For Laminate!!!

But cutting laminate is a bit tricky, here is what we did.

First, plan to do this outside or in a garage, cutting laminate counter tops is MESSY.


Next, apply masking/painters tape over the good side of the laminate, measure and mark where you want to cut. The tape will help prevent the the laminate from chipping too much. It won't prevent it completely, but it will help a lot.

Then using clamps attach a long level or other straight edge to the counter tops so that you have a guide to cut against. And then cut the counter tops using a circular saw. Another tip to prevent chipping - CUT SLOW. Don't rush it.

The Ikea counter tops come with a strip that you glue on to hid the cut... but that doesn't help with any chipping you've had to the top... but stay with me here.

After you install the counter tops I discovered a great way to hide the chipping, see that light edge there between the stone and the flecked counter top?


Well, just take a sharpie and a paper towel.


Simply color the raw edge with the sharpie, but only about 12 inches at a time:


Bear with me, I know that looks awful, why would anyone want to do THAT???

Well, here is why... with the marker still wet, rub with the paper towel and the marker will come off the counter top and soak into raw edge.


And here is what you end up with:
A perfect edge!!!
Related Posts with Thumbnails