Wednesday, October 20, 2010

Simple Tassel Tutorial

I had a couple of projects in mind that would require simple tassels - and after looking into buying them, I realized it was time to find a way to make my own.

After trying a few different methods I thought I'd share what worked best for me.

Here is what the finished tassel looks like:

Contrasting yarn helps show the different parts of the tassel. 
Materials:

  • Yarn
  • Cardboard to make a template 
  • Scissors


Step 1 - Make a template like you see below. Not 100% sure how to describe this little sucker. I started with a 2" x 2" square of card board. I cut 2 slits about a 1/4" from the top on the right and left side. Then I cut a slit in the center of the bottom. Last - a large notch was cut out of the right side about half an inch from the top that extends just past the middle.


Step 2 - cut 2 4" lengths of yarn, set 1 aside and then wrap the other around the top notches of your template.


This black strand of yarn is going to be loop you use to hang your tassel. 
Step 3: Start wrapping your yarn around the template going perpendicular to your loop yarn. The slit at the bottom is used to secure the yarn.


Keep wrapping and wrapping.


Once you like the amount of strings you've got, stop wrapping.


Step 4 - Secure the top portion of the tassel with the string that was formerly secured between the top 2 slits.


Step 5 - Using the strand that you formerly set aside, wrap around the tassel at the notch and lightly secure it.


Step 6 - slide the tassel off of the cardboard.


Step 7 - Cut the loop at the end of the tassel.


Step 8 - Move the string up the tassel just a bit towards the loop knot to help beef up top portion a bit - trust me, it helps. Then REALLY firmly tie the bottom string.


Begin wrapping the tails around and around the tassel.


And then secure the ends of the string.


Last - knot the end of the top string to create a loop.


You've got a simple tassel...


Saturday, October 16, 2010

Vegas, baby...

So for those of you who don't follow me on twitter, you might not realize that since last week, I was actually in Las Vegas for work. 8 days in Vegas, 9 days away from the family. While it was very difficult being away, it was an amazing trip.

I had high hopes of blogging from the road... it didn't happen.

I did get to see the grand canyon. From the plane that is.


Got to spend some time on the strip.


Visited the Bellagio


Got to watch the water show with Paris in the background.


 Took in the lights that are pretty much everywhere. I love lights.


And would you believe, in the evenings, after a long day at the convention center, one of those days involving walking 10 miles on concreate... I made time to work on some jewelry.


I'll post a tutorial for this type of bracelet in the next few days. For now, I'm recovering from the red eye, trying to handle the jet lag and trying to soak up the kids.

I don't want to even think about unpacking 'till tomorrow.

What I can't wait to catch up on are all my favorite blogs to see what you've all been up to.

Monday, October 11, 2010

Made 2 Match: Clothes Pins

Since decorating these clothes pins last year I've realized I wasn't the first to come up with this idea. So many people have made really cute clothes pins. And I've also learned that these cute little clothes pins have a way of walking away from my kitchen.

It was time to restock my supply of cute little clothes pins and the Vera napkins were perfect for it!


Supplies:


  • Clothes Pins
  • Mod Podge
  • Napkin, scrapbook paper, tissue paper or even wrapping paper
  • Scissors and foam brush
  • Note: the dwarf in the background is not really needed, unless you have a 3 year old who likes pretending dwarves are swords in which case I highly recommend that keep them on hand.

Step 1 - Clip the clothes pins to the edge of something.


Step 2 - Coat the clothes pin with mod podge and then apply the napkin to the clothes pin.


Step 3 - Then apply another coat of mod podge to the top of the napkin. Go ahead give it a third coat, live on the edge.


And you too can will have cute clothes pins that will walk away from your kitchen.


Saturday, October 9, 2010

Get Your Pink On

In honor of Breast Cancer Awareness Month, I made this set to give to my mom - she's a 15 year survivor.


This set was created using the same method I posted last month. If you're interested you can check out the earrings here and the bracelet here.

Friday, October 8, 2010

Made 2 Match: Fail

Well as proof that no project is perfect, I learned my lesson about making sure you're gentle when working with these napkins as I applied the mod podge a bit to carelessly to my vase and ended up with this on the back.


Grrrrr.

In theory - I could have found a matching piece of the pattern and filled it in. But the back of the vase faces the wall so I left it as a little reminder of the need to be gentle.

Thursday, October 7, 2010

Made 2 Match: Coasters

What would a napkin series be without a coaster feature. They are a go to project for repurposing napkins. So much so that I wasn't sure about including them here, but I really loved the way this collection turned out.


Materials:


  • Tiles
  • Mod Podge
  • Lovely Napkin, that yes, you've separated down to only the printed layer... 
  • Foam Brush
  • Cork or felt 

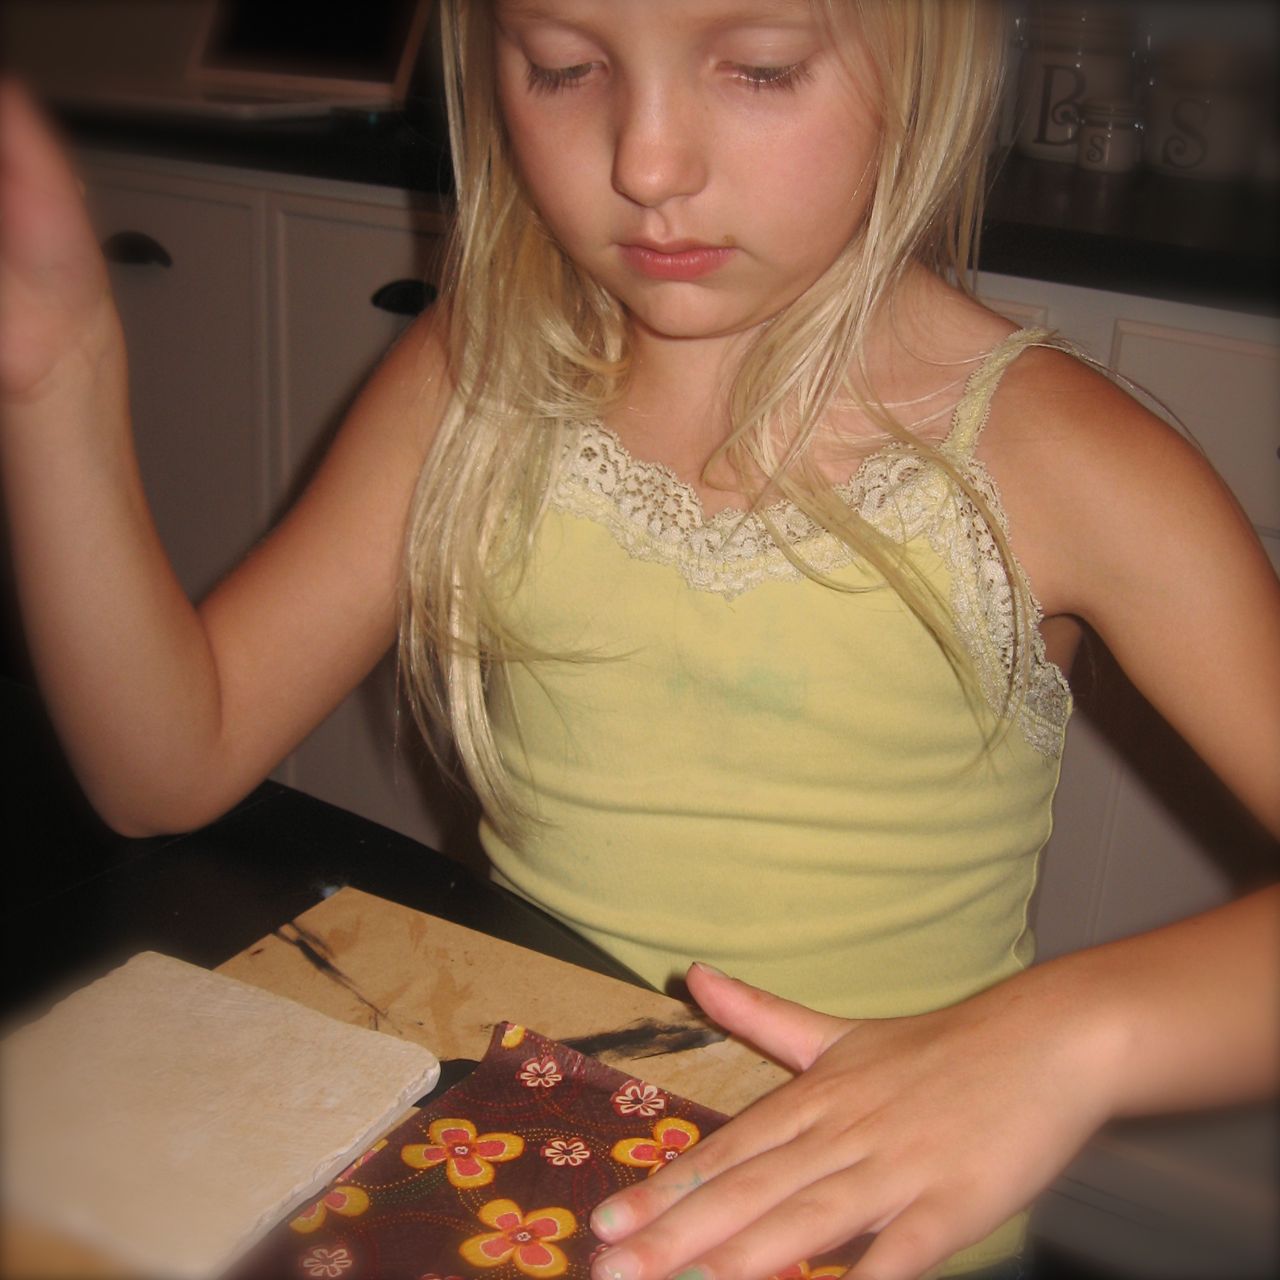
Step 1 - Have your helper coat the tiles with mod podge.


Step 2 - Apply the napkin to the tile and then coat with at least 2 coats of Mod podge. And of course varnish if you like.


Step 3 - Put the cork on the bottom of the coaster so that you're not saving your surface from water, but ruining it with the tile.


And there you go - coasters. Here are just a few of the ones that I've created from the Vera napkins.


Related Posts with Thumbnails