Monday, July 13, 2009

The Bug's Room AKA, the Decorating Cents Room

My daughter has one of my favorite rooms in our house, not that she sleeps in it - she's bunking with her brother for a while but I digress.

We completed this room for under $500, hence "The Decorating Cents Room."

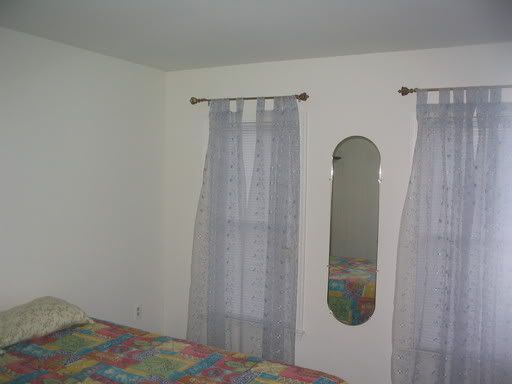
Here is the "before" as in before we moved in... How the old owners had it.


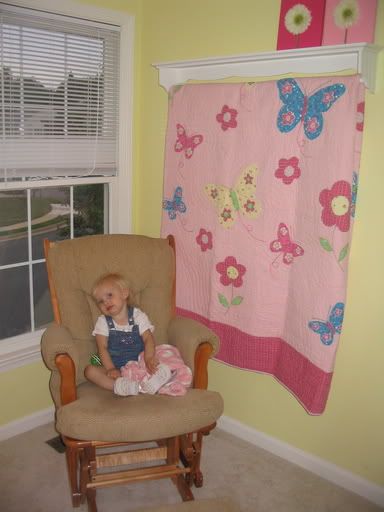
And here is what we did for the first few months we lived here, just to warm it up with what she had from our town house we transitioned her to the big girl room she has now.


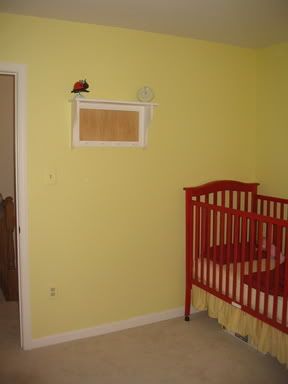
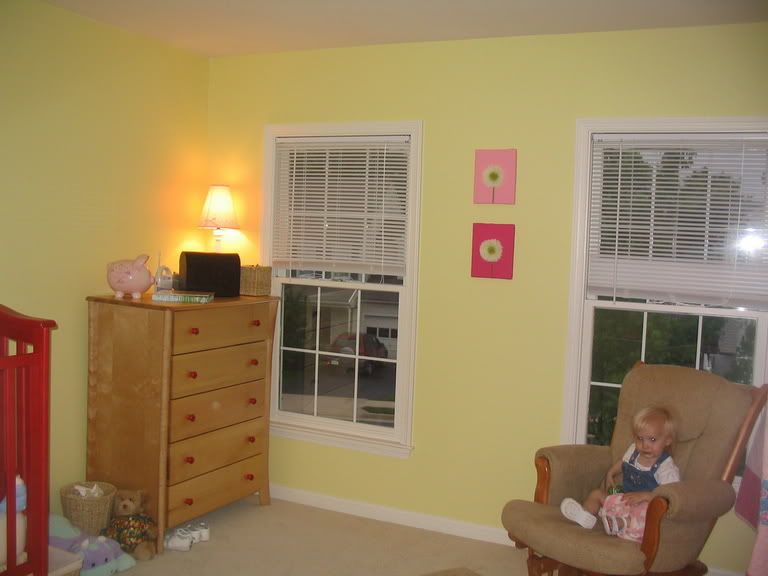
So here is the after:
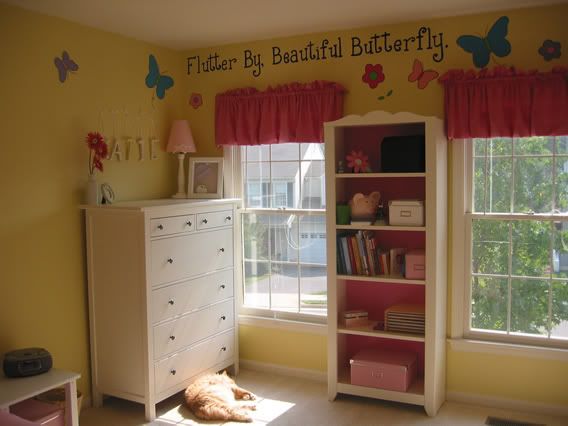
Seen above:
Dresser from Ikea, originally a honey pine piece that was slightly damaged, got it for $199. We sanded, primed and painted it white. (it came in white, but in a laquer finish that I HATED)

Valances $8 - made myself from some Rasberry Chambray fabric I got at JoAnn's.

Bookcase - $70 from Ikea, we covered the back panel with pink wrapping paper to give it more pop. (The unit came in white.)


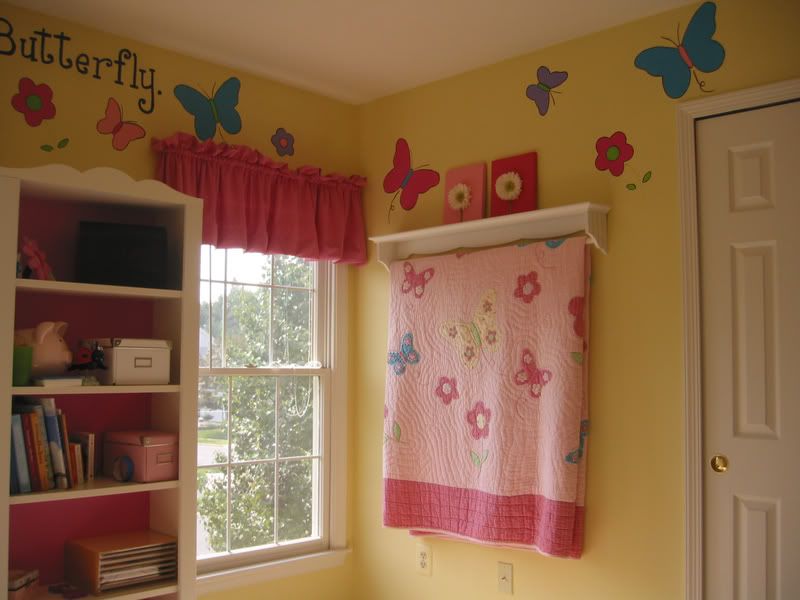
Seen above, nothing new. The quilt rack was from our living room and the quilt we had from the town house... cost - $0
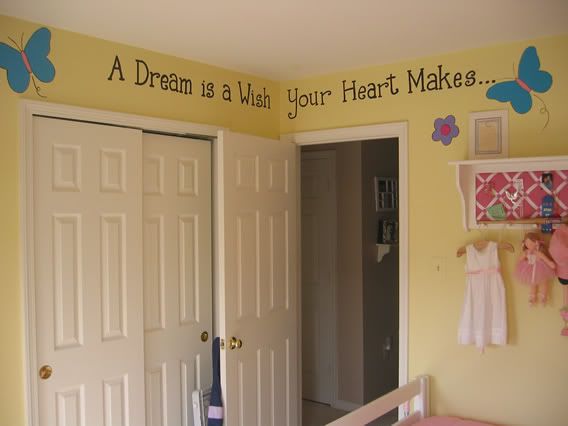


Seen above:
I covered the memory board from her shelf that we'd had from the townhouse with the same window treatment fabric and some scrap ribbon - cost : $2 or less.

The items on the memory board... we'll they are memories, including her baptism dress. I love that dress...
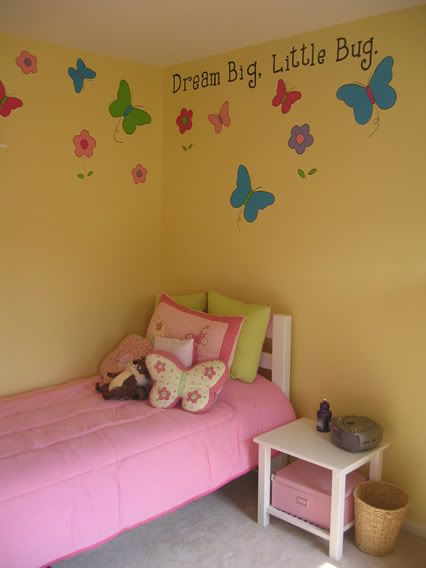

Seen above:
Bed: Frame from Craigs list, $50. Originally it was a rough pine like the stuff you see from "this end up" we sanded, primed and painted it white. Mattress was bought new for $75 on clearance.

Side table: Ikea, unfinished table $19... sanded, primed and you guessed it... painted white.

Bedding: Sheets and comforter set bought at homegoods for $40 total, on clearance. Pillows made from pillow forms and scrap fabric. Cost $0.

Also seen throughout the room, the quotes, lady bugs and flowers. I painted those by hand. I pulled the colors and shapes from her quilt.

Plus other random accessories including storage boxes that were under $50.

Total cost: $438, many weekends planning, painting and assembling... and a whole lot of love. Priceless.

Thanks for stopping by!!!

Monday, July 6, 2009

Our (creative) way to handle duplicate gifts.

My 2 kids have 3 sets of grandparents, 2 uncles (both named Mark as luck would have it), 2 cousins, a variety of adopted aunts and uncles, many friends and 2 adoring parents...

This adds up to a lot of gifts come birthdays and holidays. Inevitably we end up with duplicates or things that come very close. Rather than taking them back to the store we've started what has come to be one of my favorite traditions.

Whenever the kids get a gift that is a duplicate, close to something they have, or not up their ally at all. We set it aside. In December my office holds their annual Toys for Tots collection and all the duplicate toys are donated from the kids. We've been doing this so long, my kids don't even realize that gifts can be returned to the store.

Sunday, July 5, 2009

4th of July Jammies!

Each year we celebrate the 4th by heading down to a little festival in the next town over, we have a wonderful dinner at a city tavern, followed by lots of out door fun while we wait for the fireworks. My favorite part of the tradition starts when we change the kids into their 4th of July jammies that we buy each year at Old Navy.

Only this year, I forgot to buy the jammies. No big deal, they could wear regular jammies right? Wrong, my daughter bawled on the 2nd when I told her I'd forgotten. Looks like it isn't just my favorite part of the tradition. I found 2 pairs of Navy blue shorts, and 2 white tops at Target and JoAnn's was having a sale on fat quarters so I picked up red, white and blue fabric for $3.

Here is what I started with:

I applied some heat bond to the back of the fat quarters and then cut out a bazzilon stars.

Next I removed the backing on the heat bond, applied them to the shirts and shorts using an iron.

With everything bonded to the jammies I toyed with idea of calling them done...

But some of the stars didn't seem like they were going to hold all that well... so I spent about 2-3 hours stitching around the bazzilon stars.

And it was totally worth it!


And here is the best part of 4th of July Jammies, when the fireworks are over, and the kids look like this:

All we have to do is get them home and roll them into bed!
Related Posts with Thumbnails